Fastech SunPad Replacement - DIY


SplitDecision2?2

New member
IMG_1416.jpg
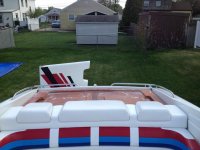
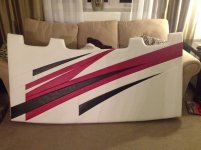
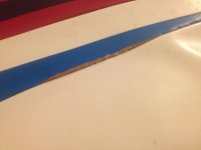
So after being sat on, stood on, niece & nephew'd on, walked on, and laid on for 13 years. My 292s sunpad decided enough was enough and had a seam finally give way. I tried my best to prevent any further damage when I noticed it starting to pull apart a few years ago, but it's location was in a pretty unavoidable spot. It was just a matter of time.

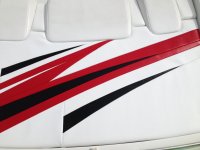
So I reached out to Formula's TAG group (THANK YOU SCOTT SMITH) and had a new sunpad skin ordered in no time. I saw posts by people who have ordered new skins directly from Formula but in all my searches both on here and over on OSO I didn't find a whole lot of information regarding the process of removing or replacing the skin from beginning to end. After pulling the sunpad off the boat and removing ALLLLLL the staples, I thought this would be a good project to document for all the DIYers out there that are up to the challenge should they ever find themselves in the same situation.

So here we go.

SunPad Removal
Procedure:
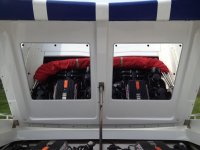
1) After lifting engine hatch cover remove all screws holding both hatch mirrors in place
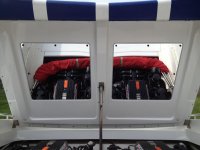
IMG_1454.jpg
2) Remove all the screws which were located behind the hatch mirrors
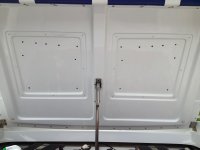
IMG_1450.jpg
3) Remove all the screws located along the left, right and bottom edges of the underside of the engine hatch as well
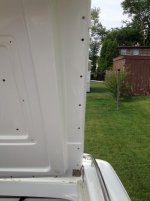
IMG_1449.jpg
4) Finally, unbolt both left and right hinges from the engine hatch
(You could also remove the entire engine hatch first and repeat steps 1-3 while on the ground. Rain was coming, so I chose to keep the hatch on the boat so motors were covered. Either way a second person does comes in handy to either help remove hatch from boat or to stabilize the hatch after unbolting hinges and lowering the lift ram.)
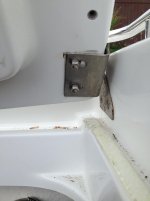
IMG_1448.jpgIMG_1398.jpg

NEXT....Skin Removal
 
Last edited:
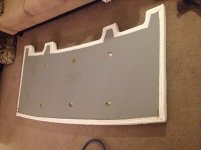
IMG_1412.jpg

Skin Removal
Procedure
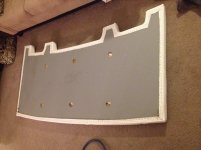
1) Remove all staples around the perimeter of the backside of the Sunpad. That's it right!
IMG_1439.jpgIMG_1403.jpg
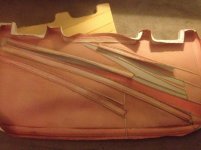
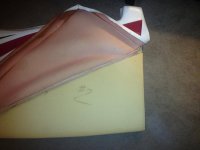
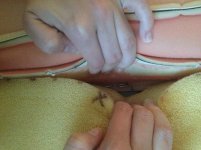
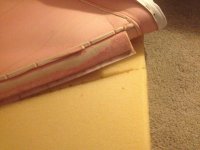
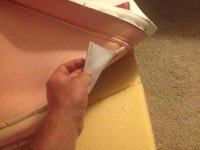
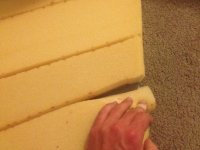
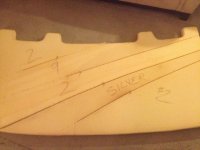
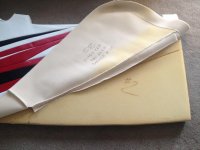
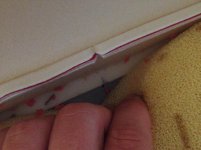
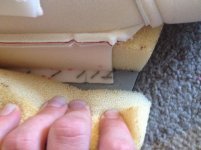
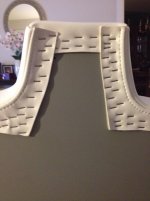
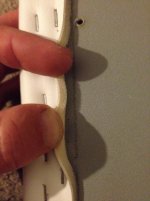
2) WRONG... there's always something hidden. There is additional material stapled in between the sections of foam underneath the skin that anchor it in place to ensure the skin lays flat when air gets underneath. Remove these anchor staples in the same manner you removed the staples around the perimeter.
IMG_1402.jpgIMG_1407.jpgIMG_1408.jpgIMG_1418.jpgIMG_1417.jpg

NEXT...Installing the Replacement Skin
 
Last edited:
Installing Replacement Skin

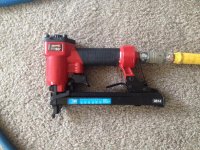
I used an Arrow pneumatic staple gun with T50 stainless steel staples. I'll indicate pressure settings in the steps below. I would have used Monel staples if they had them, but hardware store did not have any in stock.
IMG_1429.jpg
1) This step is obviously optional, but I dry fit everything first to ensure lines, seams, edges, and corners were all where they were supposed to be. Even tucking the anchors into place between the foam again to make sure I lined up with all the factory markings.
IMG_1431.jpg
2) Since the anchors were last to remove, I started with installing them first. Now the anchors have a thin hard plastic strip sewn in place. For this I turned the PSI up to 105 to make sure the staples were set good and snug. There are factory markings on the backer board and skin, along with notches cut into the seams to help aid in making sure the skin is aligned correctly as you re-install. I also used the holes from all the staples I had removed as markers to for where to position the anchors.
IMG_1434.jpgIMG_1436.jpg
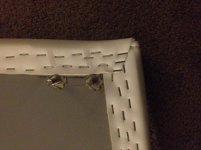
3) After all the anchors are stapled in place its time to move on to the edges. I chose to start at the top, near the headrests, because that seemed to me to be the most difficult and time consuming part with all the folding and stapling that would be needed. Since the edges are just foam backed vinyl, I adjusted the PSI down to 80-85 to make sure I didn't shoot the staples clean through the vinyl. I started in the middle of the SunPad and worked my way out doing one headrest at a time folding the top down first, stapling in place, and then folding each side over and adhering it to the backer board. After the top, I moved on and did the bottom section and then finished with the sides. For the bottom section, I put an staple in each corner first to hold it in place where it needed to be and then proceeded with the rest moving from one corner to the other. Just like the anchors, there are factory markings on the backer board to help with aligning the edges with where they should be.
IMG_1442.jpgIMG_1444.jpgIMG_1446.jpgIMG_1439.jpgIMG_1440.jpg
TIPS - Your instinct is going to tell you to stretch the vinyl tight in order to eliminate any wrinkling. I had to keep remembering why I was doing all this in the first place, because I had a seam pull apart. So I had to keep telling myself not to pull it so tight and give it some slack so this hopefully won't happen again. Just note that you can over stretch the vinyl which will result in bunching of the material as your stapling along an edge or excess material built up in the corners giving it an unsightly appearance. Your seams and lines may also be off if you over stretch the material more in one place then another along the same edge. When in doubt, look to the factory markings. They are there to help guide and assist you. Also, don't get rid of that old skin until the project is finished. I had the original skin right there next to me which I would refer to frequently during the entire install process. Nothing better then a visual aid to see exactly how it was done. Lastly, don't go crazy with the staples. I got a little trigger happy and put probably 200-300 more staples than what was actually required.

NEXT....Reattach to the engine hatch
 
Last edited:
Final step in this process is to re-install the pad to the engine hatch. You simply repeat the steps you did in order to remove it. Having 2 sets of hands is again helpful for this step. I started with bolting the hatch back to the hinges. Then it's just a matter of reinstalling all the screws you removed, and then finish up with the hatch mirrors.

Lastly, crack open an Corona or beer of choice, sit back and admire your handy work.

IMG_1454.jpgIMG_1456.jpgIMG_1457.jpg
 
Last edited:
Thanks Scott. The credit really needs to go back to Formula for the attention to detail that those guys put into their work. The sheer fact that Formula can create a new brand new skin and have every single mark and notch line up with the factory markings that were made 13 years ago is simply amazing.
 
Last edited:
Shhh jeeez Brian do not reveal Superman's true identity!

Nice write up bud. Glad Smokes made whole again.
 
LOL... Seriously. So your telling me no one knew that Clark Kent wasn't superman just because of the glasses. Find that hard to believe.
 
Looks good. I'll be looking to redo mine fall 2024. Thinking of just taking it to a local shop. I'd like to double the thickness of the padding and just do a white cover. My cover is cracking and the padding seems thin after 20 years.
 
Back
Top